How To Take GREAT Photos In BORING Light

The Challenge
Light is one of the most important elements in photography, yet is the one we have the least control of, especially in street photography. Overcastdays, are the most dreaded weather for street photography since you have to deal with flat light and low-contrast scenes that have no dramatic shadows or highlights that make subjects pop.
This can be frustrating during those long winter days, or especially when visiting a new destination for just a few days, only to find grey skies. In this blog, I’ll share some of my favorite techniques for shooting great street photos in bad light so you can stay inspired and create stunning photos even when the weather works against you.
Shot Against The Sky
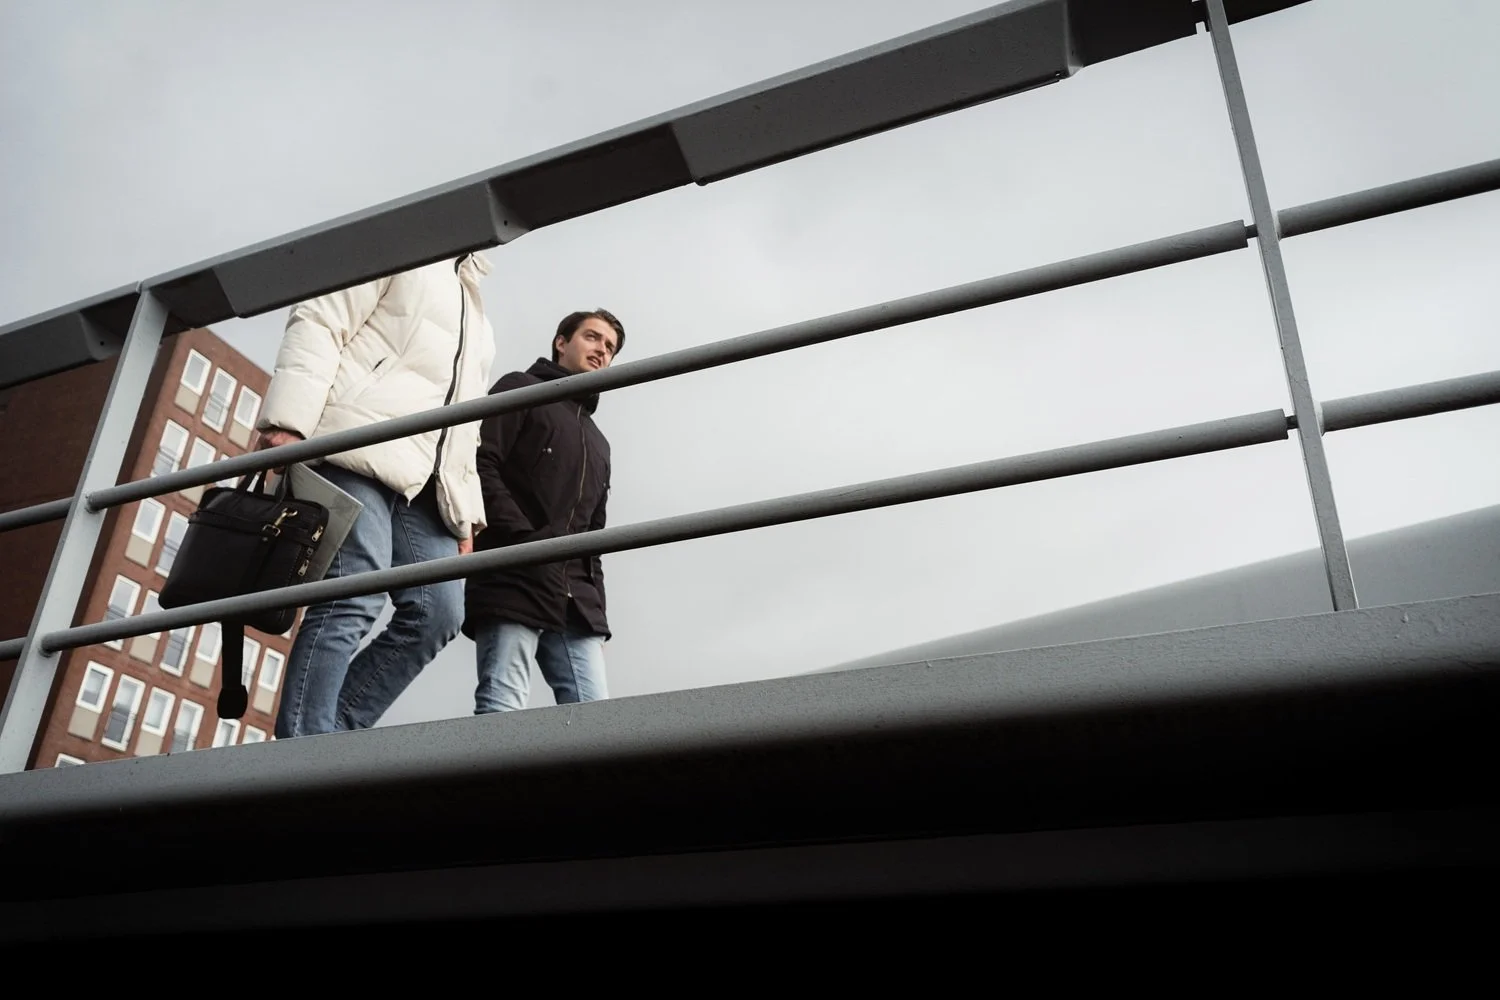
This is one of my favorite ways to get creative on overcast days. A fully clouded sky acts like a natural diffuser, allowing you to shoot directly toward it without dealing with harsh light beams, sun flares or a clattered blue sky filled with scattered clouds.
On fully overcast days, try to include the sky in your composition so you can create striking, minimalist photos where your subject really stands out. Shooting upwards from under a bridge, staircase, or building lets the sky become your main background which brings focus to your main subject.
Personally, I like to overexpose the sky by about one stop, or if that’s not possible, I’ll increase the highlights during editing. This creates a smooth white background instead of a dull grey one. Grey skies tend to feel too distracting and depressing and unless you are going for a moody look is better to avoid them.


Seek Out Color
Overcast light flattens everything. The environment often looks dull, grey, and lifeless, and on top of that, most people (myself included) tend to wear darker clothes, especially in winter, which means that most of your potential subjects blend into the background.
That’s why on days like this I always keep an eye out for color. A bright red jacket, a yellow umbrella, colorful signs, buses, or painted walls, anything with a vibrant tone can give your photo the energy it's missing. So when you come across a subject with bright color try to include it in your frame and you will get instantly impressive results.
One key thing to keep in mind during editing: when your subject has a bright color but the environment is muted, the color contrast can be unpleasing. I often tone down the saturation of the colorful element just a bit so it blends better with the surroundings. This creates a more smooth color transition that is more pleasing to the eye.


Shot in Black and White
Sometimes you may be unlucky and you won’t find any scenes with interesting colors. In this case a great strategy is to remove all colors completely from the equitation and just shot in black and white. There are 2 things to keep in mind in this case:
Composition becomes your top priority
Black and white usually simplifies the scene, so composition must be strong in order to create a captivating photo. Look for scenes that tell a story or have unusual, interesting arrangements. Try layering or including multiple subjects to create depth or even use unusual elements as a frame (ex. photo with spiderweb)Focus on high contrast areas
When there is no color to guide the viewers eye, contrast becomes key for defining shapes and details. During an overcast usually contrast is low but you can still create high contrast by shooting from darker areas toward a light source, like from inside a tunnel or building facing the light.


Focus On Movement
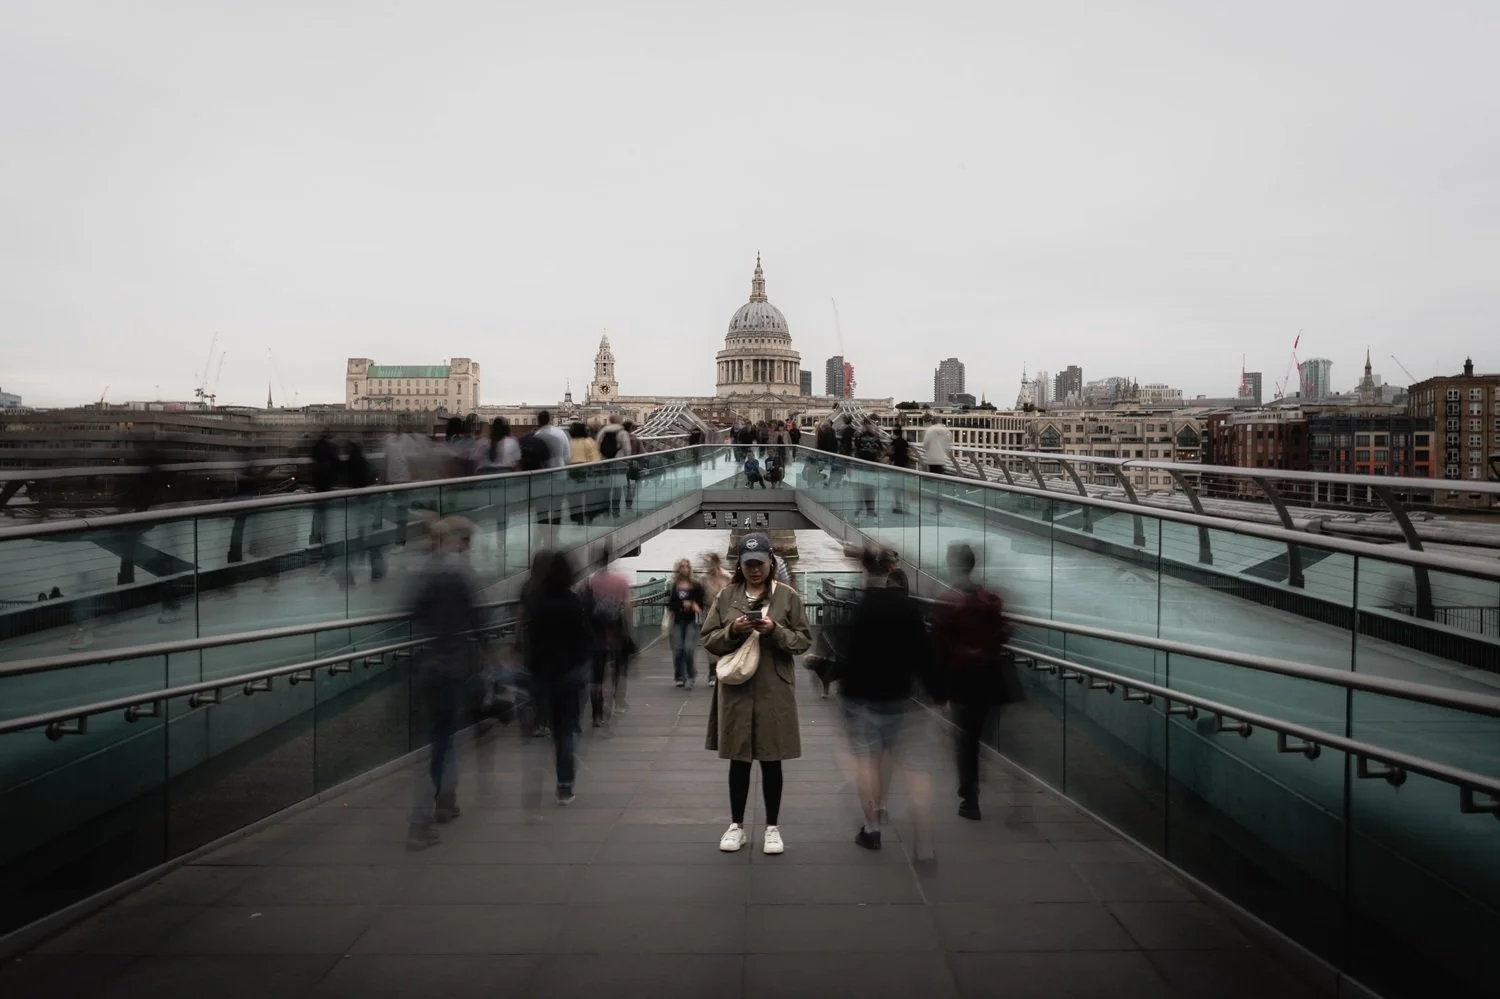
During very cloudy days, the light is limited, which makes it easier to experiment with slower shutter speeds. You may not be able to use shutter speeds of 2 or 3 seconds without an ND filter, but slower speeds like 1/5 or 1/30 can still produce impressive motion blur and add energy to your shots.
Make sure your camera has image stabilization to avoid blurry photos. The good thing is that most cameras these days come with IBIS. For example, with my Sony A7C II, I can shoot at 1 second and still get crisp results. If yours doesn’t, use a tripod or find a stable surface to support your camera.


Shot Indoors
If at this point everything else fails you can entirely change your strategy and instead focus shooting indoors.
This may sound strange in the beginning but if you think about it a big part of street photography takes place indoors. Places like train stations, subways, buses, tunnels, museums, libraries, malls offer great opportunities for street photography and can often reflect the everyday rhythm of the city better than any trendy outdoor spot.
So next time the sky is grey, adjust your schedule and prioritize to shoot indoors during overcast days and go back to shooting outdoors when the light improves.


Final thoughts
Shooting during grey and overcast days doesn’t have to be so dreading. I actually believe that you can take your best photos not only when all your environment works in your favor but instead when you overcome all kinds of challenges and create something unique that wouldn’t be possible otherwise.
So now you know what you need to do. I’ve tried to keep this guide short and practical so you can easily come back to whenever inspiration runs low. By using any of these 5 techniques I am sure that you can take exceptional shots while having fun in the process. For more details check out my full Youtube video below.
Last but not least, in case you are wondering how to approach photography when the light is good feel free to check out my detailed guide How To Master Light In Street Photography.