My Gear
In this page you will find a comprehensive list of the gear I am using for both photography and videography and also various useful accessories that support my creative endeavors and also make my life easier. Below you can see the list of my cameras, lenses, tripods, light equipment, storage media (SD cards, SSD etc) and various other accessories. I am person that obsessively reviews and tests every detail of a product before using it so I have only included products I am really happy with. Let me know in case you have any questions around these products.
Disclaimer: The products below contain affiliate links which means I earn a small commission if you purchase something through them but it won't cost you anything extra. This is a great cost-free way to support me so I can keep the lights on and continue to offer you awesome content.
Main Camera Kit
My main camera kit consists from the Sony A7C II and the lenses listed below. I consider the Sony A7C II to be the best value-for-money camera in the most compact size you can get nowadays. It is currently my go-to camera for both photography and videography. I am particularly impressed with the ergonomics of the camera (you can customize almost everything), how responsive it is (especially when switching between video and photo) and its excellent low light performance. Needless to say I haven’t looked back since then.
My lens choices vary by situation. For pure street photography, I use the Voigtlander 28mm and the Sony Zeiss 35mm to explore more complex compositions. When travelling, the Sony 20-70mm is on my camera 90% of the time because it is lightweight and its wide reach is ideal for both stills and B-roll for my Youtube channel. Believe it or not, I even use it for night photography thanks to the A7C II’s low-light performance. For my case I don’t believe the extra $$ and size are worth the upgrade to an F2.8 zoom lens. People are often surprised to learn my cinematic night photos are all shot with an F4 lens. It never fails to amaze me!
The Sigma 16-28mm is the newest lens in my collection, bought in early 2025 for my YouTube talking head videos. I have been impressed with its quality and autofocus performance. I am also using the Sigma 85mm for portraits and occasionally for abstract street photography when I need more reach. Many believe that Sony lenses are a must for getting top-notch autofocus performance but I have seen no difference between my Sigma and Sony lenses. Overall, I’m very impressed with the Sigma lenses.

Sony A7C II

Sony 20-70mm F4

Voigtlander 28mm F1.5

Sony Zeiss 35mm F2.8
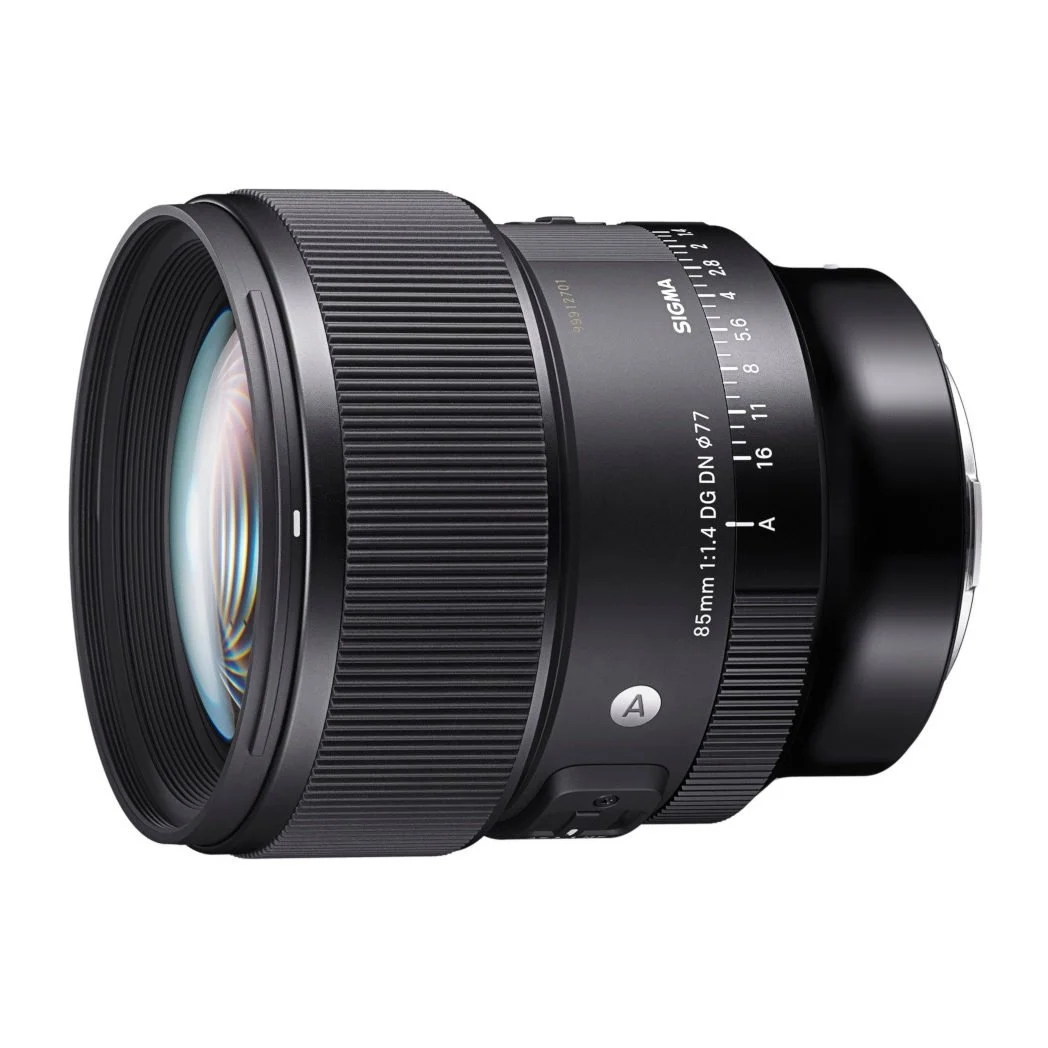
Sigma 85mm F1.4

Sigma 16-28mm F2.8

Tamron 50-400mm
Compact Gear
To complement my main camera setup for both photo and video I use the following compact gear. First of all, the Ricoh GR IV is my all time favorite everyday carry gear, I literally take it everywhere. I only recently bought this camera and I am blown away on how convenient and fun it is to use. With the Ricoh I become invisible and I am able to capture moments I would otherwise miss.
The DJI Osmo Pocket 3 and DJI Action 4 are my go-to cameras for vlogging and for shooting B-Roll when I am too lazy to get my main camera out (ex. in taxis, busses, airplanes etc). I usually prefer to use the Pocket 3 for its superior video quality and low-light performance, but I switch to the Action 4 in harsh weather or challenging filming conditions thanks to its more rugged build.
For audio, most of the time I use the DJI Mic 2, especially when vlogging outdoors and when recording voiceovers for my Youtube videos (it can record internally and transferring the files to my PC is simple). I use the Sony ECM-M1 for my Youtube talking head videos because it connects easily via the hot shoe and bakes the audio directly to the videos recorded from my Sony A7C II. Both mics are simple to use, very small in size and I consider their quality to be comparable. I am equally happy with both.

Ricoh GR IV

DJI Osmo Pocket 3

DJI Action 4

DJI Mini Extension Rod

DJI Mic 2

Sony ECM-M1
Camera Accessories
Over the years, I’ve accumulated a lot of camera accessories, but here I’ve listed the ones I use the most. First up, the Ulanzi Zero F38 tripod is the best tripod investment I have made. It is not cheap but worth every penny. It is lightweight, very steady for its weight and compact - even though it extends up to 160cm (62.6 inches). Paired with the F38 quick-release system, mounting and unmounting the camera takes almost no time.
Speaking of speed, the Ulanzi Falcam F38 system has had the biggest positive impact on my day-to-day camera use. I use it on my tripod, backpack, and shoulder strap. When I’m out shooting, I rely heavily on the F38 backpack strap to rest my camera. It’s so convenient that I can grab my camera from my shoulder in under a second without missing a shot. While I usually go out with a backpack, for quick photo walks I prefer just wearing the PGYTECH shoulder strap — also equipped with the F38 system for fast mounting and unmounting. So convenient!
Other notable mentions: an ND filter is essential for shooting video during the day, and I use one from K&F that includes a CPL filter to reduce reflections and slightly boost contrast. The Cinebloom diffusion filter is a fun creative tool for adding a film-like look. Lastly, the magnetic chest mount from FiTSTILL is the best I’ve found for my action camera. I’ve tried several, but they all fell short of expectations (either they were too ugly aka action camera bras, or not steady enough). The one from FiTSTILL is awesome!

Ulanzi Zero F38 Travel Tripod

K&F ND/CPL Filter

CineBloom Diffusion Filter 20%

Falcam F38 Backpack Strap

Falcam F38 For Shoulder Strap

PGYTECH Camera Shoulder Strap

Peak Design Hand Cuff

PGYTECH Photography gloves

Sony Dual Battery Charger

K&F Camera Cleaning Kit

FiTSTILL Magnetic Chest Mount
Home Studio
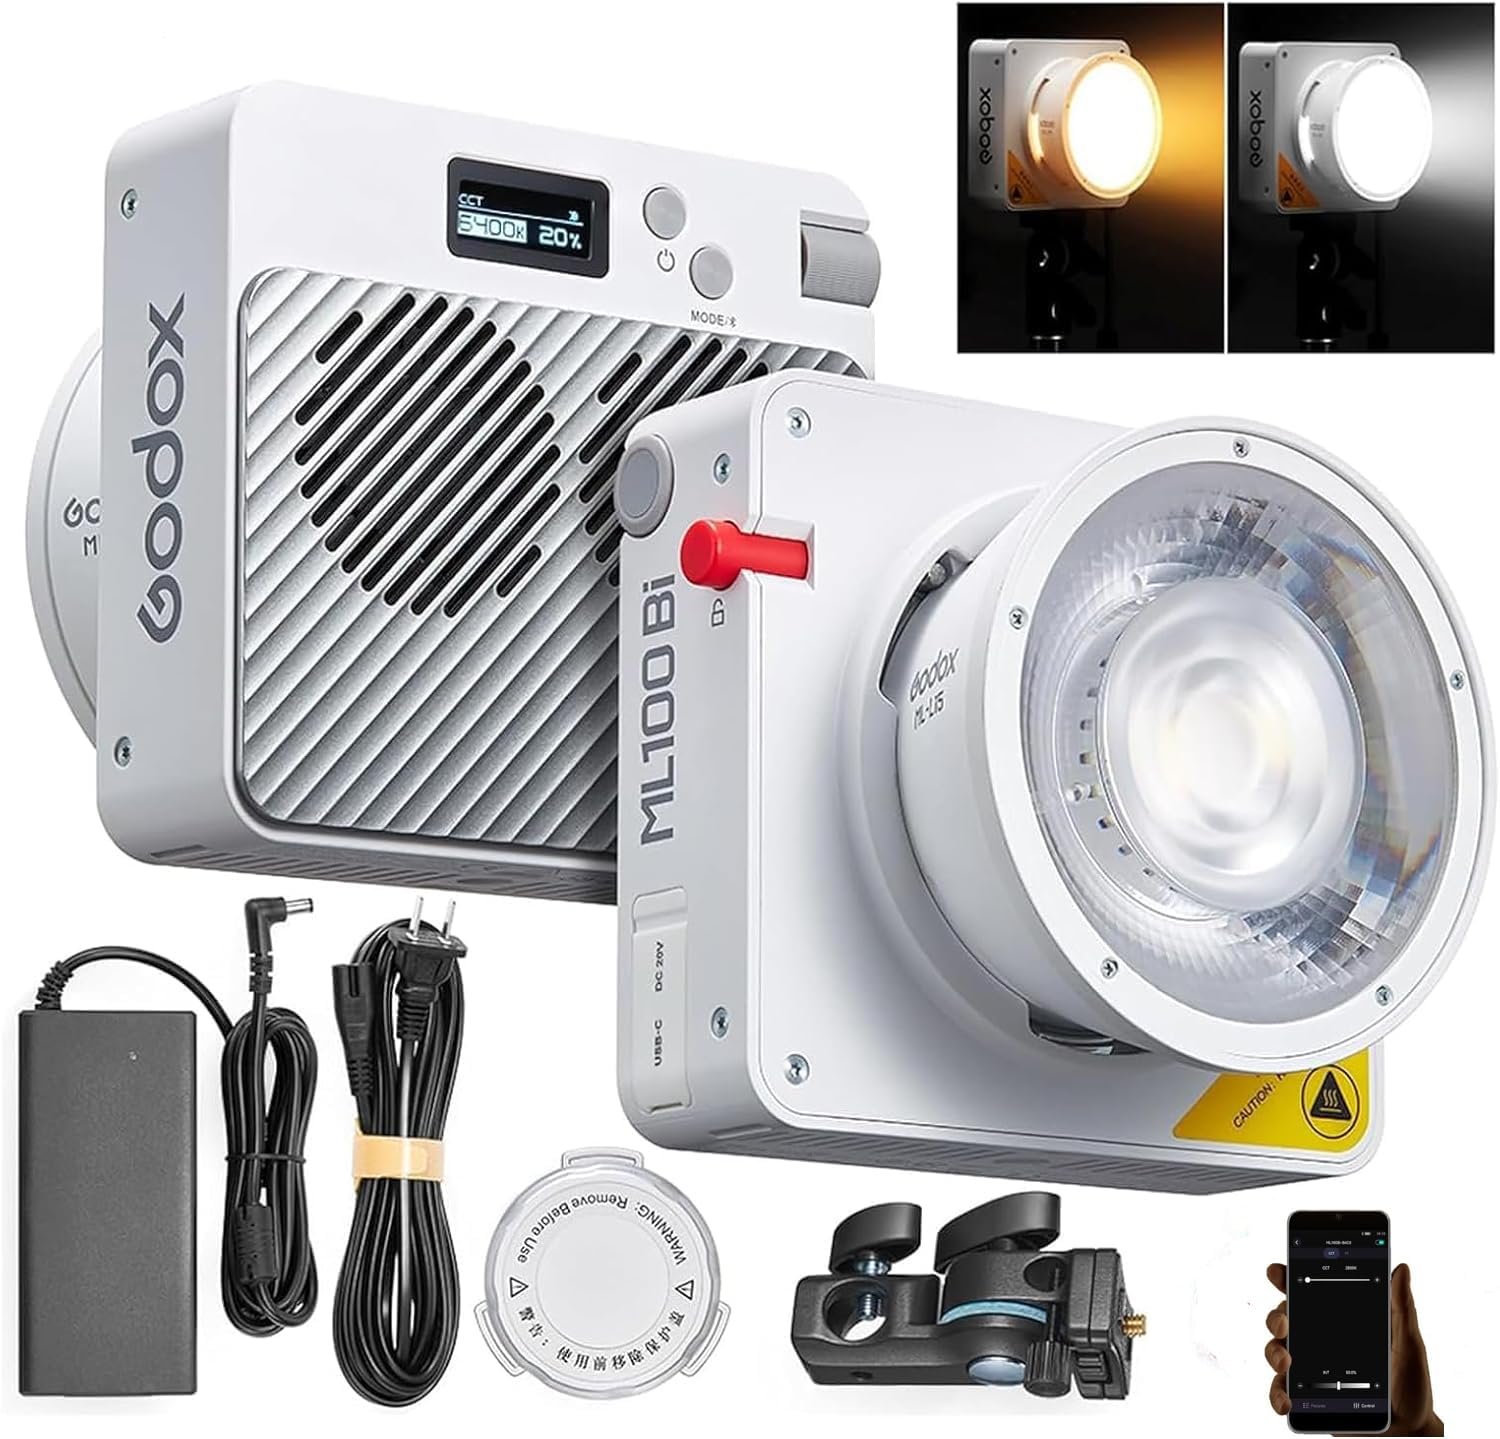
For my home studio where I record most of my Youtube videos, I rely on the lighting setup you see below. My main light is the Godox ML100Bi, which I chose for its portability (as you’ve already seen, I love compact gear) and its very good online reviews. So far, I’ve been very happy with it — it’s quiet and works seamlessly with the mobile app. With 100W of power, it’s more than enough for a small home studio (I usually run it at just 20% power!).
The Godox AD-S65W softbox has also been a great addition. It does an excellent job softening the light for my talking head videos (example) and strikes the perfect balance between the size of a large and small softbox. I did try the S85W, but it was too big for my space, so I returned it. I also use a couple of Ulanzi lights as secondary and practical lights, along with the light stands shown below, which are all great budget-friendly products.
Godox ML100Bi Video Light

Godox AD-S65W Softbox

Neewer Light Stand

Ulanzi VL49 Mini RGB Light

Ulanzi VL119 RGB Tube Light
Ulanzi MT-79 Light Stand
Computer & Storage
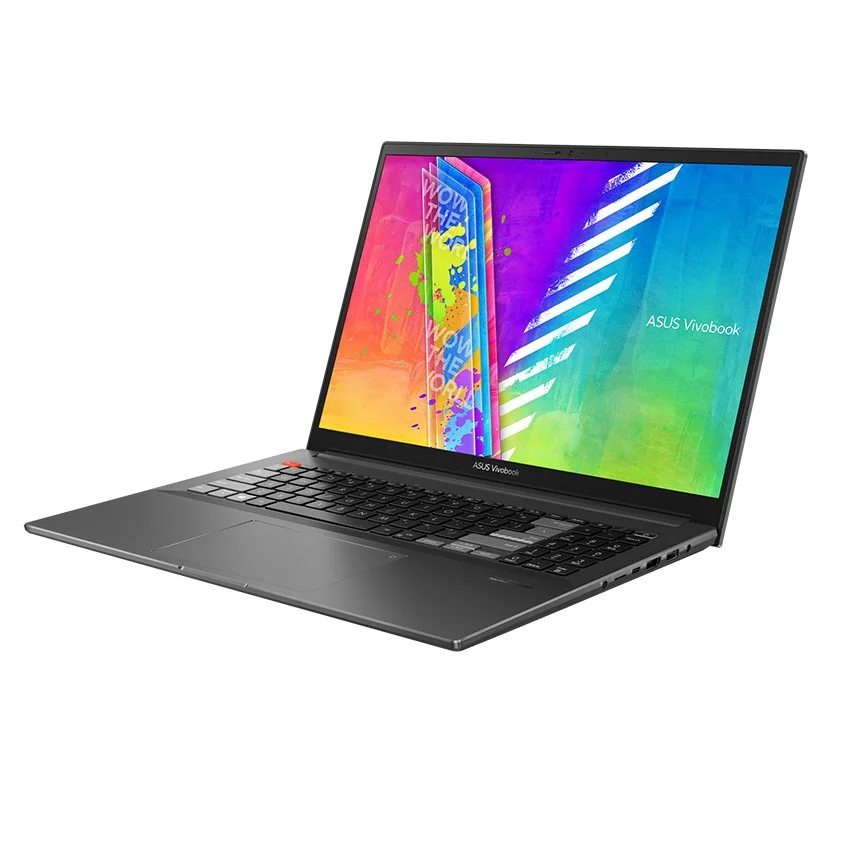
My main computer is the ASUS Vivobook Pro 16X which comes with a Core i7 12th Gen, NVIDIA RTX3060, 32GB RAM. Editing large raw files and 4K video footage can be challenging on smaller systems, but the Vivobook can handle the workload smoothly. It’s a very lightweight (2.3 kg / 5 lbs), making it an excellent portable solution when traveling. I don’t use a Macbook because I am not a big fan of macOS but I do admit they they are also great for photo and video editing (especially due to their hardware video encoding/decoding). Moreover since 4K video editing pushes my laptop to its limits I use the KLIM Mistral Laptop Cooling Pad to avoid heat throttling and keep its performance high.
A color-accurate monitor is also essential for high-quality work. While professional monitors can easily cost thousands of euros or dollars, thankfully, today you can find excellent options at a great price. I chose the Asus ProArt PA279CRV because of its superior color accuracy and exceptional value for money. It offers 4K resolution, USB-C with video and 96W power delivery, and comes pre-calibrated with sRGB and Rec709 color profiles. For me, a 27” monitor strikes the perfect balance between a 24” monitor, which I find too small, and a 32” monitor, which is too big for my desk.
It terms of storage there are plenty of options but below you can see what I am using. I use SSDs for my editing workflow (both photo/video) due to their high speeds, and HDDs for long-term storage. For SD cards, the Lexar V90 128GB is my go-to card when recording 4K video or shooting in high-burst photo mode since its fast write speeds help me avoid lag and buffering issues.
One recent discovery that’s had a big impact on my travel kit is the Anker 65W charger. It is compact and lightweight, and it is the only charger I bring on trips. With 65W output, it can charge a phone, a camera, and even a MacBook (with <=65w power needs).

Asus ProArt PA279CRV
ASUS Vivobook Pro 16X

KLIM Mistral Cooling Pad
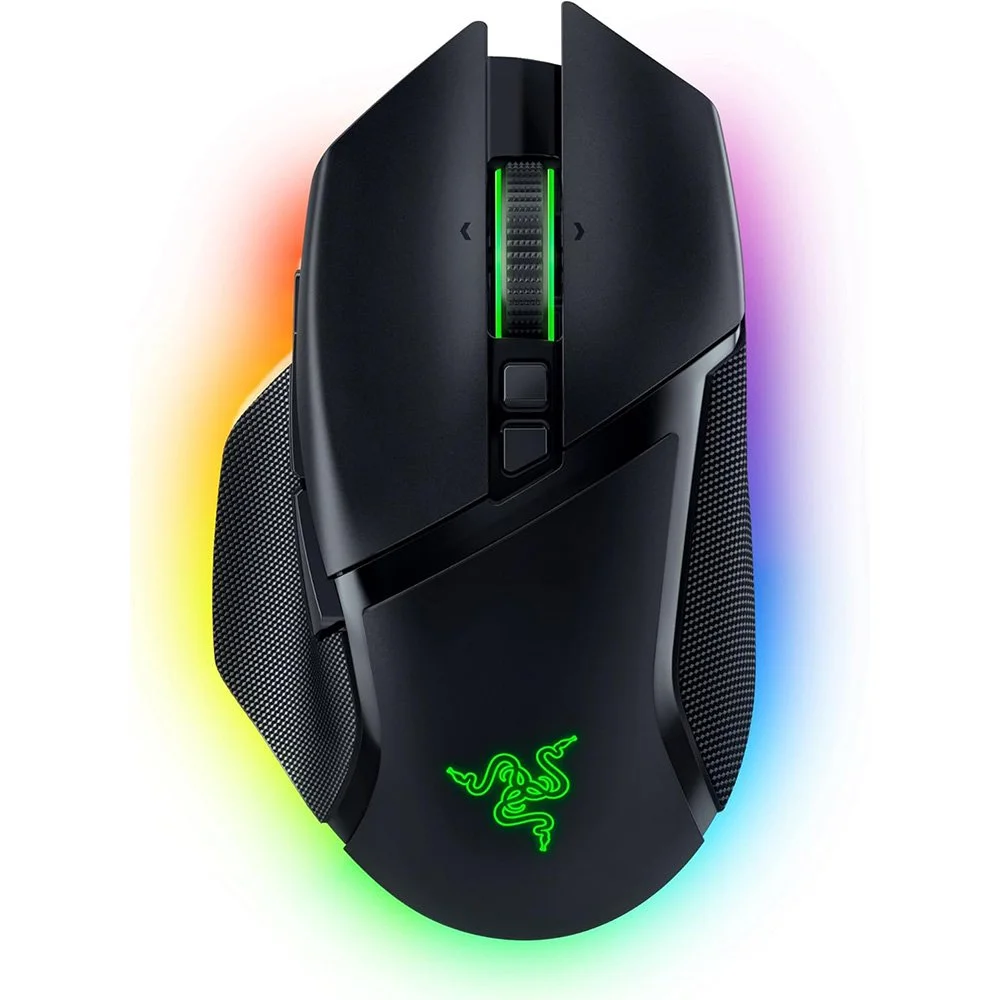
Razer Basilisk V3 Pro

WD My Passport Ultra 2 TB
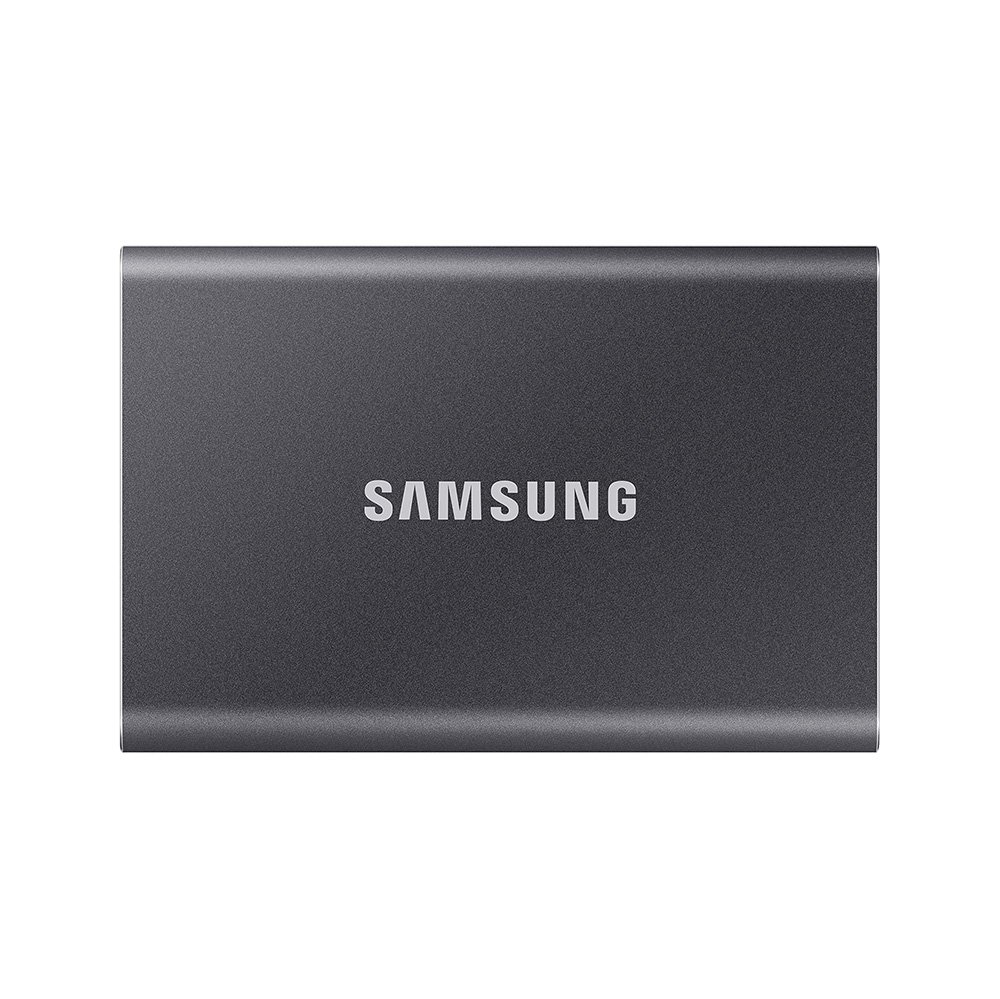
Samsung T7 SSD 500GB
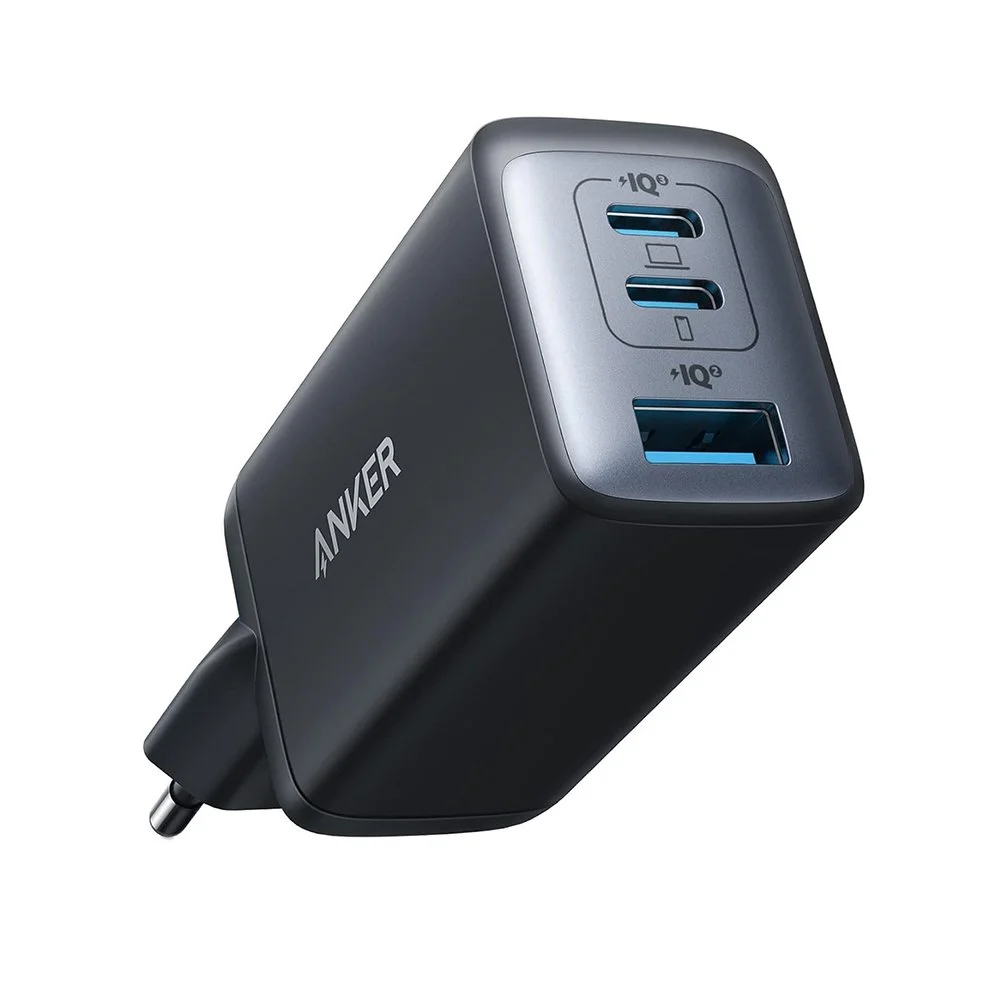
Anker 65W Charger

SD Card 256GB - V60

SD Card 128GB - V90

Micro SD 512GB
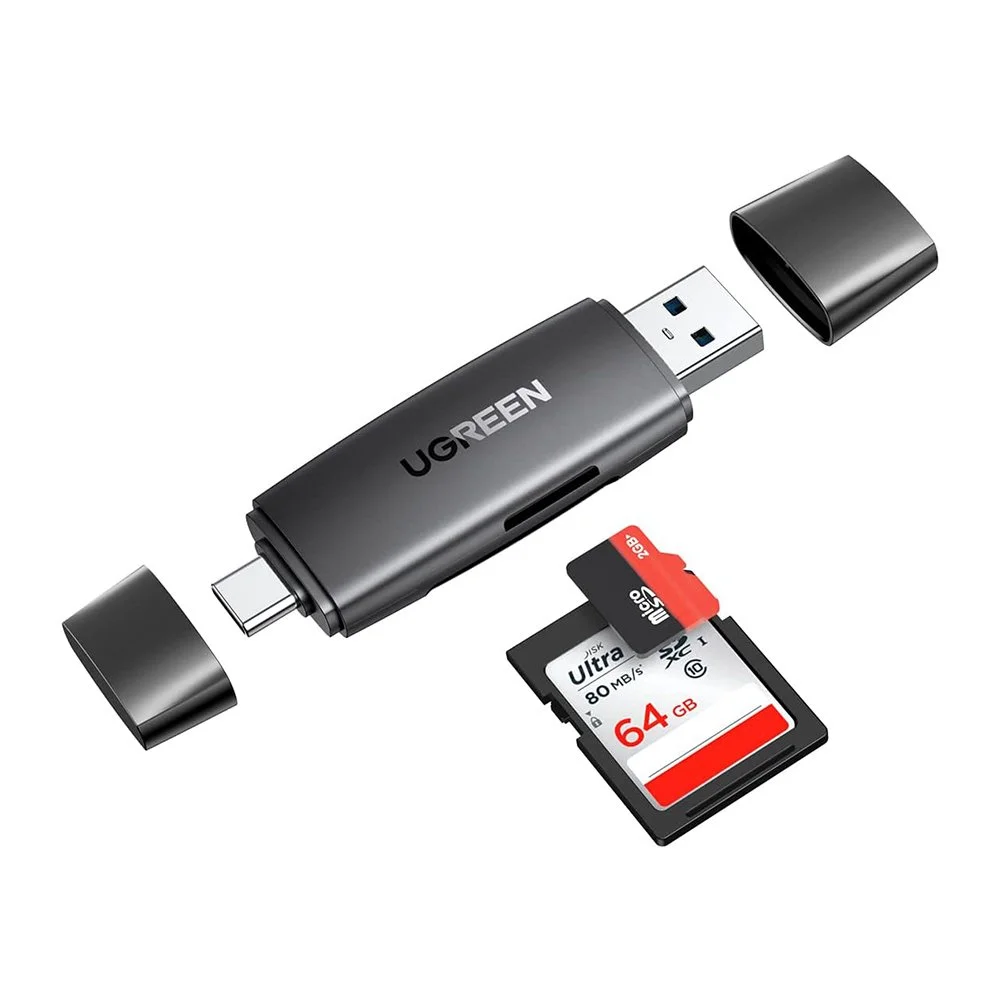
UGREEN SD Card Reader
Backpacks
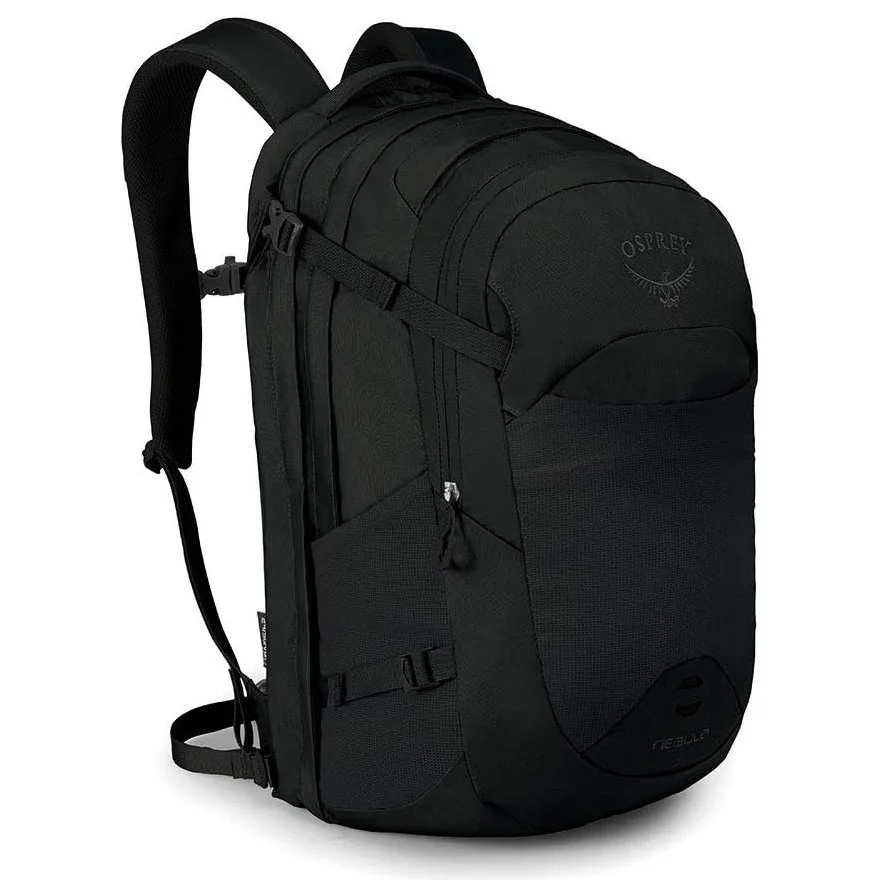
I’m very particular about backpacks. Over the years, I’ve spent a tremendous amount of time testing different models until I found one that ticks all my boxes. I have OCD-like requirements: the backpack must be ergonomic and comfortable to wear for long periods, have a pocket for a single thing I carry, and of course, look good!
After extensive research, I found the perfect one, the Osprey Nebula 34L. It’s the best backpack I’ve ever used and the one I use 90% of the time. It is lightweight, has plenty of extra pockets (including internal hanging pockets where I store lenses, passports, chargers, and more) plus two large compartments for both a laptop and a tablet. It comes with a small waist belt (which many other backpacks lack!) which transfer the weight to your hips making it comfortable when carrying heavy items. I own the Nebula 2019 version but Osprey has released a new model.
Another high quality backpack is the Shimoda Urban Explore 25. However, I feel it is designed specifically for carrying multiple cameras/lenses rather for the things you would need for a trip on top of your gear. It is chunkier and heavier than the Osprey and for this reason I reserve it for weekend trips or when I need to carry extra gear to a specific location.
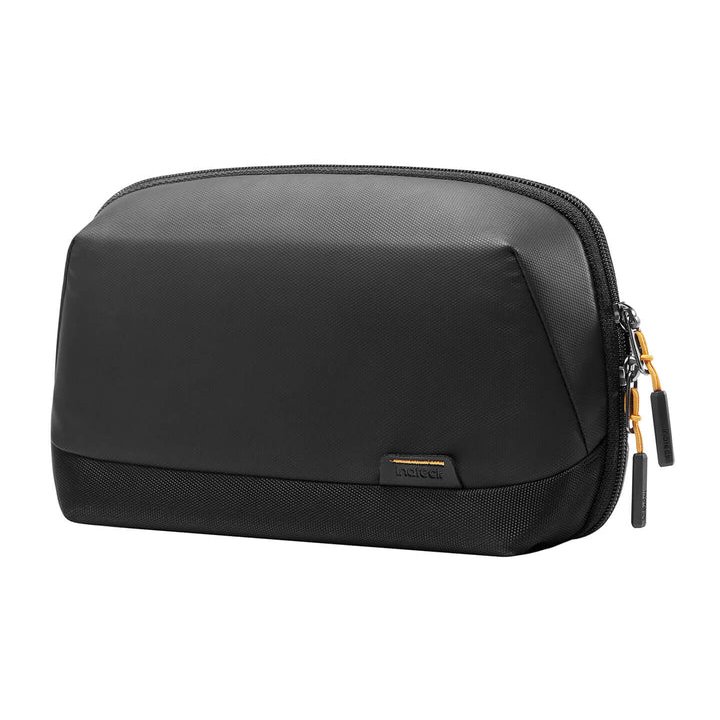
For city use, I rely on the Peak Design Sling 6L. It is perfect for moving around with my main camera kit and an extra lens in my hometown. I usually don’t take it on trips since it can be redundant. Finally, the tech pouch is one of those small items you think you don’t need, until you get one. I’ve tried many, even pricier premium brands, but the Inatek tech pouch stuck with me with its ideal balance of portability and storage. I use it for my action camera, extra batteries, ND filters, SSDs, and mics. Totally recommend it!
Osprey Nebula 34L

Shimoda Urban Explore 25

Peak Design Sling 6L
Inateck Tech Pouch
Software
The music and sound effects in my Youtube videos are licensed from Epidemic Sound. You can check some of my favorite music tracks and get a 30-day FREE trial by clicking here.
I edit all my photos in Lightroom, while for video editing I use DaVinci Resolve Studio. I was initially hesitant to spend the extra $300 to upgrade to the Studio version, but honestly, it’s been one of the best decisions I’ve made on my content creation journey. It is worth noting that this is a lifetime license — you pay once and get access to all future updates, forever!
While I occasionally use LUTs or custom grades, my go-to tool for color grading is the Dehancer Pro plugin in DaVinci Resolve. It is ideal for achieving a quick, film-like look, offering intuitive sliders and a wide range of built-in film emulations. My favorite feature of Dehancer is its extensive library of film stocks, along with its superior grain, halation, and bloom effects, all of which outperform DaVinci’s native options. Dehancer might be on the pricier side, but the good news is that I have a promo code you can use to get a discount.
🔥Get 10% off Dehancer by using the promo code: SPYROS

Dehancer Pro
Epidemic Sound